
Making your own zippered throw pillow covers saves a ton of money, storage space and allows you to make seasonal decor pillows for way less!
I’m back with a project I’ve shared a couple of times…but I like to repeat it because it’s such a GOOD one. Especially for seasonal decorating on the cheap!
Though I’ve shared this before, I don’t think I’ve ever shared a full step-by-step tutorial, so I’m doing that today. I also learned a new trick that I’ll share (along with a video with the best how-to I’ve found).
I’ve always wanted to learn how to sew a zipper into one of my pillow covers, and finally bit the bullet and figured out how to do it. I am far from perfect on both sewing pillows and the zipper (especially on the zipper 😂), but this is one of those projects that really doesn’t need perfection.
Using pillow covers with zippers allows me to only store a few pillow inserts and the covers take up way less space.
Let’s do this step-by-step, shall we? I finished most of these pillows years ago, but decided to deconstruct those I had finished to add the zippers and then I finished the rest.
Cut your fabric to size
I use very basic (AKA cheap) muslin for the backs of a lot of my DIY pillows. It’s not the strongest fabric in the world but it always holds up fine for me.
If you have kiddos that enjoy pillow fights, you may want to use something a little thicker:
This post may contain affiliate links for your convenience.
I may earn a small commission when you make a purchase through links.
I recommend making your pillow cover about one inch smaller than your pillow insert for a snug, fluffy fit.
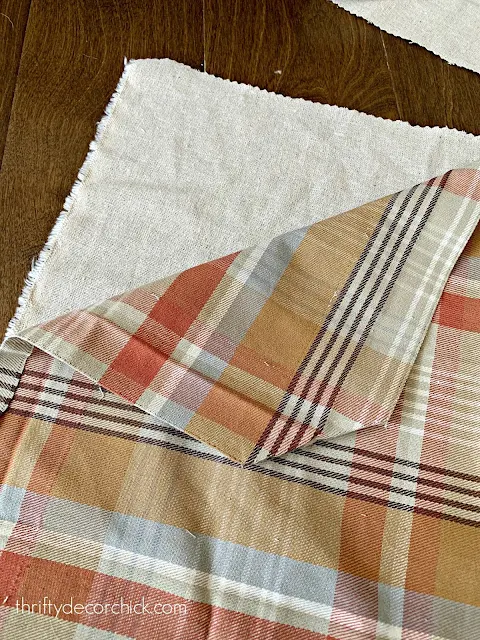
After your two pieces are cut, lay them wrong sides against each other. With a solid fabric this won’t matter as much:
Sew in your zipper
I found an awesome video tutorial for this that I’ll share in a minute. But these are the basic steps.
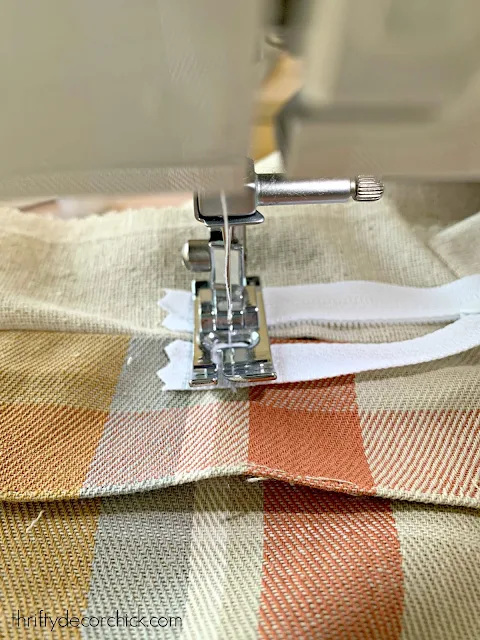
Lay your zipper down on one edge (if your fabric has a design that has a top and bottom, be sure to put the zipper on the bottom!):
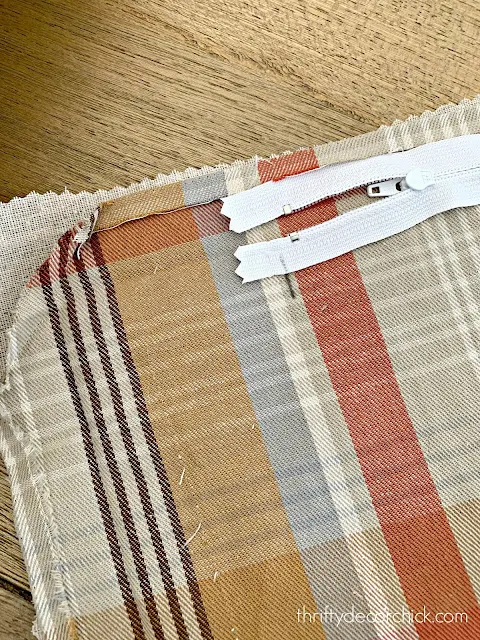
Mark where the zipper needs to be sewn on — keep in mind you don’t want to cover the ends of the zipper too much or it won’t close properly. I marked this with a pencil.
Sew this side of your pillow cover to both pencil marks (on either side) and don’t go any further:
You’ll be left with a long hole in the middle for your zipper.
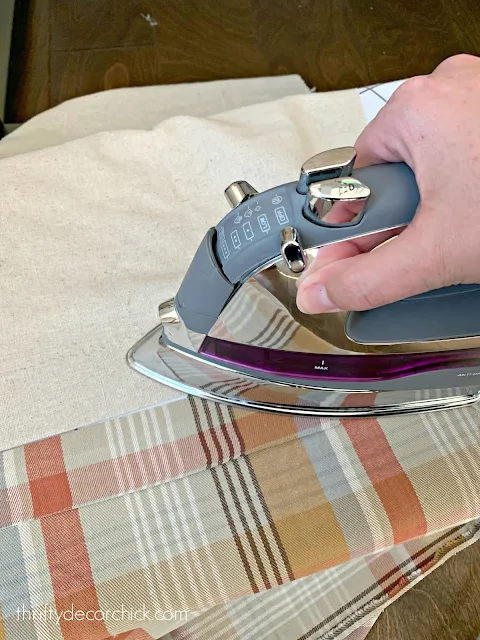
I found it easier if I ironed the “seam” before working on the rest of the zipper:
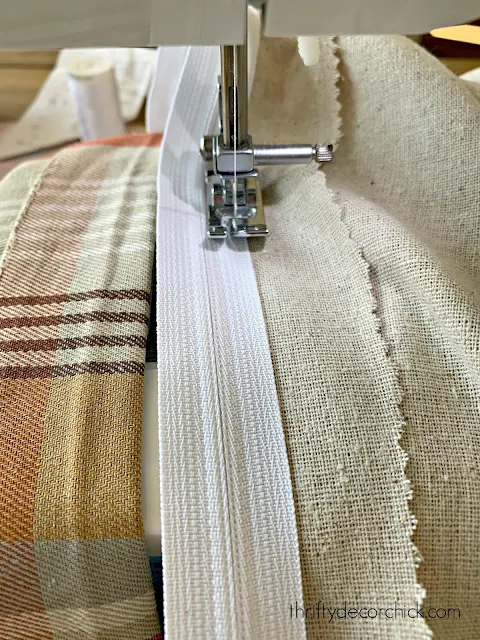
Lay your zipper on the fabric where you marked with the pencil so it matches to where you ended sewing up the ends. Then sew back and forth over each side of the zipper:
Make sure the zipper is facing out so you can operate it when the pillow is finished and turned right side out!
This is where it got a little hairy for me. I wasn’t a perfectionist on this part and it’s obvious. 😉
I left the zipper closed and sewed down one side first:
I don’t have it pictured here, but I highly recommend pinning your zipper to each side before sewing. Otherwise your line gets a bit wonky. Just pin along the length of the zipper so it results in a clean hem along the zipper.
To do the other side, I undid the zipper and then pinned that other side of the zipper before sewing it in. This will help later because when you close up the pillow you’ll want it open.
Close up your pillow
This is by far the easiest part! If you aren’t using a zipper, making a pillow is one of the easiest DIYs ever. I know many of you are intimidated when using a sewing machine, but if you can get help setting it up (the directions are very helpful too), it’s VERY easy.
If I’m sewing up a pillow without a zipper it only takes a few minutes to make one. Is it perfect? Would I want anyone inspecting my lines? Do I care? NOPE. 😁
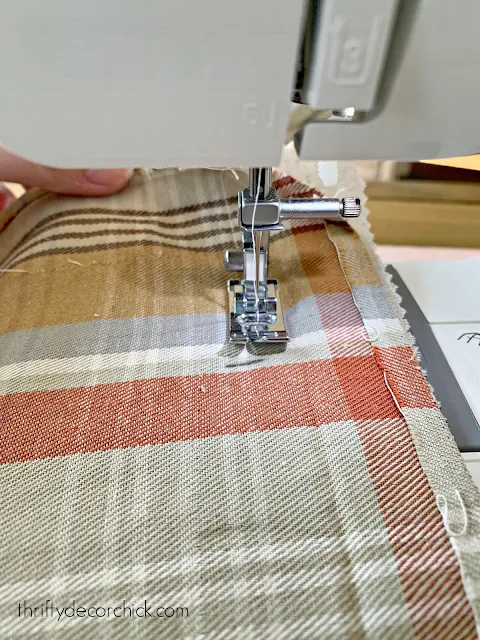
Sometimes fabric with stripes are harder because you need to go fairly straight with your sewing. Once you get the hang of it, they are actually a little easier because they give you a guide on keeping that straight line:
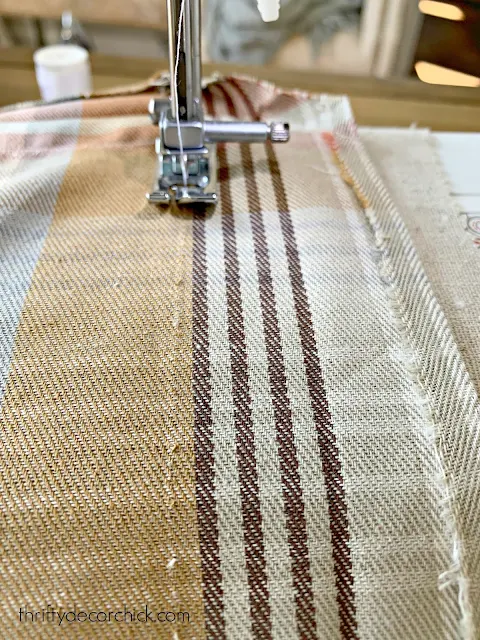
You’ll need to sew up the remaining three sides and you’re almost done!
Finish up small details
Before turning it right side out, I like to trim down the extra fabric and the corners. This just makes it less bulky:
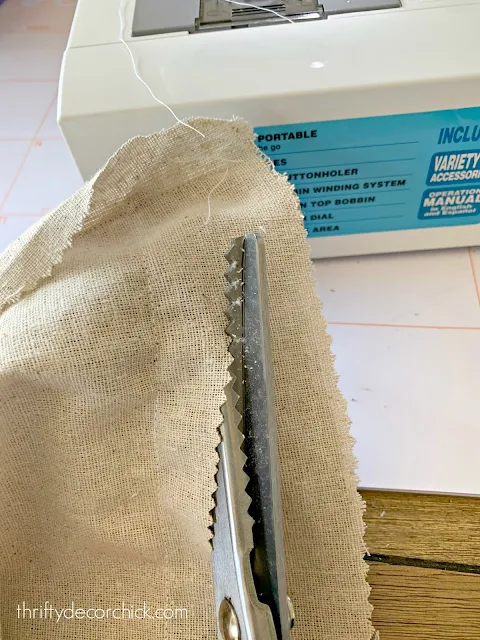
Turn it right side out and poke the corners out. Trim any random strings (I had a lot when doing the zippers!)
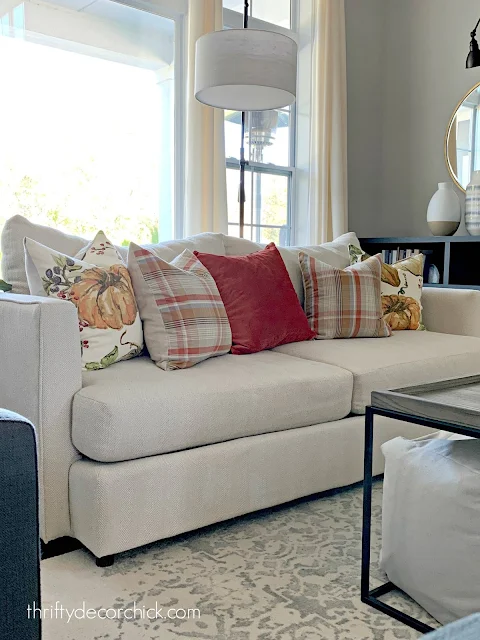
If you like to decorate for holidays and the seasons, you know throw pillows are not cheap. This is such a great way to add some seasonal pillows without spending a ton of money:
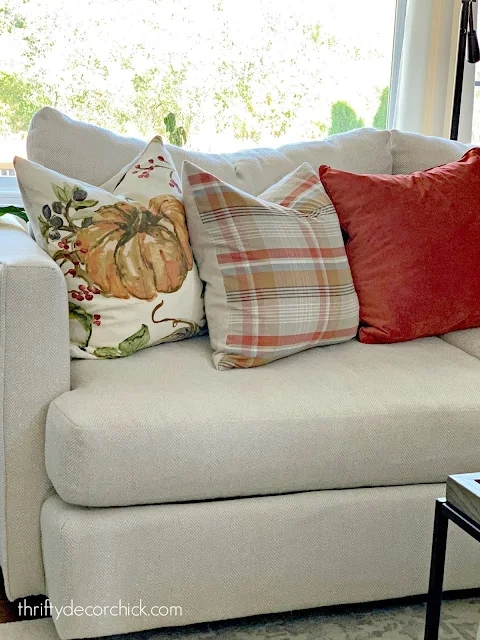
Now that I know how to add a zipper, it will help my pillow insert hoarding problem big time! I’ll only need a few inserts for my seasonal pillows. I also LOVE that I can take these off to clean them now.
I bought these Pottery Barn napkins years ago (eight of them) for around $45 I think? I made eight “Pottery Barn” pillows for less than $15 each. Not bad when their most basic pillows sell for $40 and up!
Have you ever made your own pillows? I encourage you to try it out and forget about perfection! You know me — if anyone is ever going to plop down on my couch and find the imperfections in my DIY pillows, they get a cookie. 😉
Of course this napkin trick works well year round — not just for seasonal decorating! If you have any questions, let me know.
These DIY teddy bear pumpkin pillows are another fun and easy fall project you may like!:
