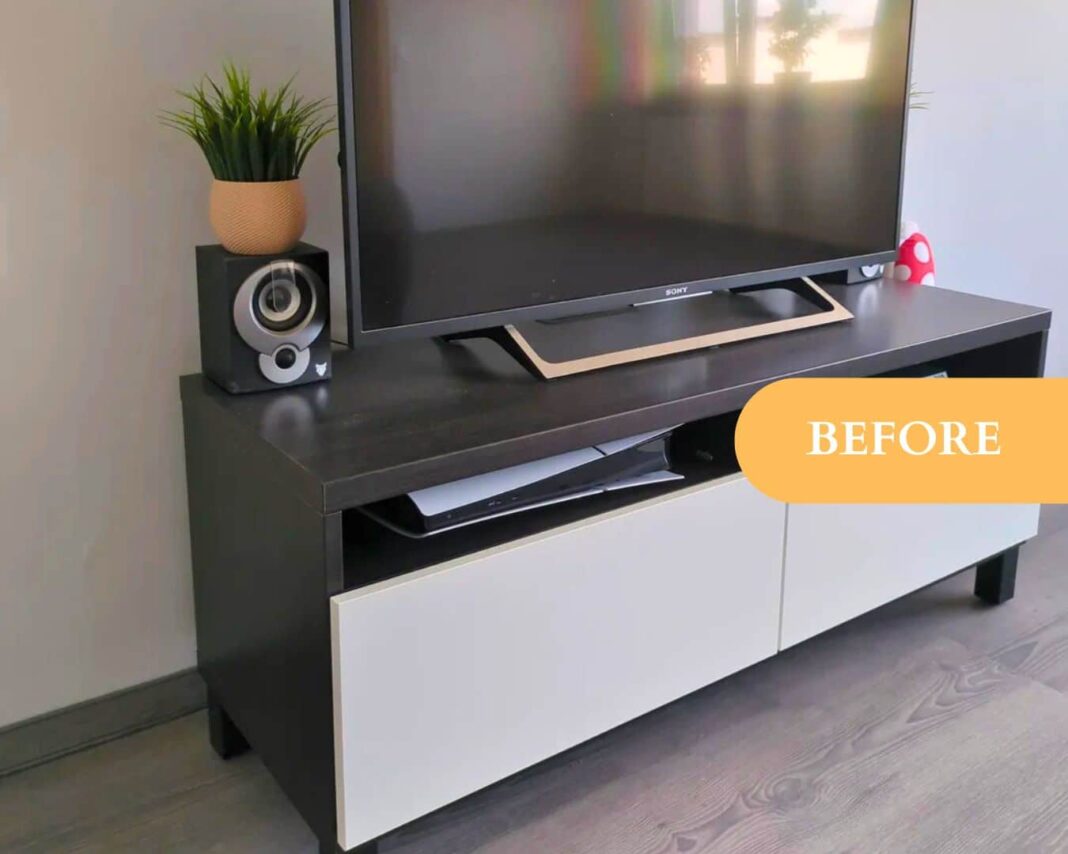
iBeryl’s old TV setup looked lost in their new, larger living room—and the problems didn’t stop there.
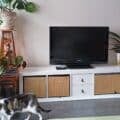
“After I moved house, I placed the TV unit in the same way as it always was, but now it felt kinda small due to the larger room,” they explained.
“I also got tired of the annoying cleaning process because of the angled feet. And I also wanted to end the cable mess. So I decided to build a TV accent wall that should solve all my ‘problems’.”
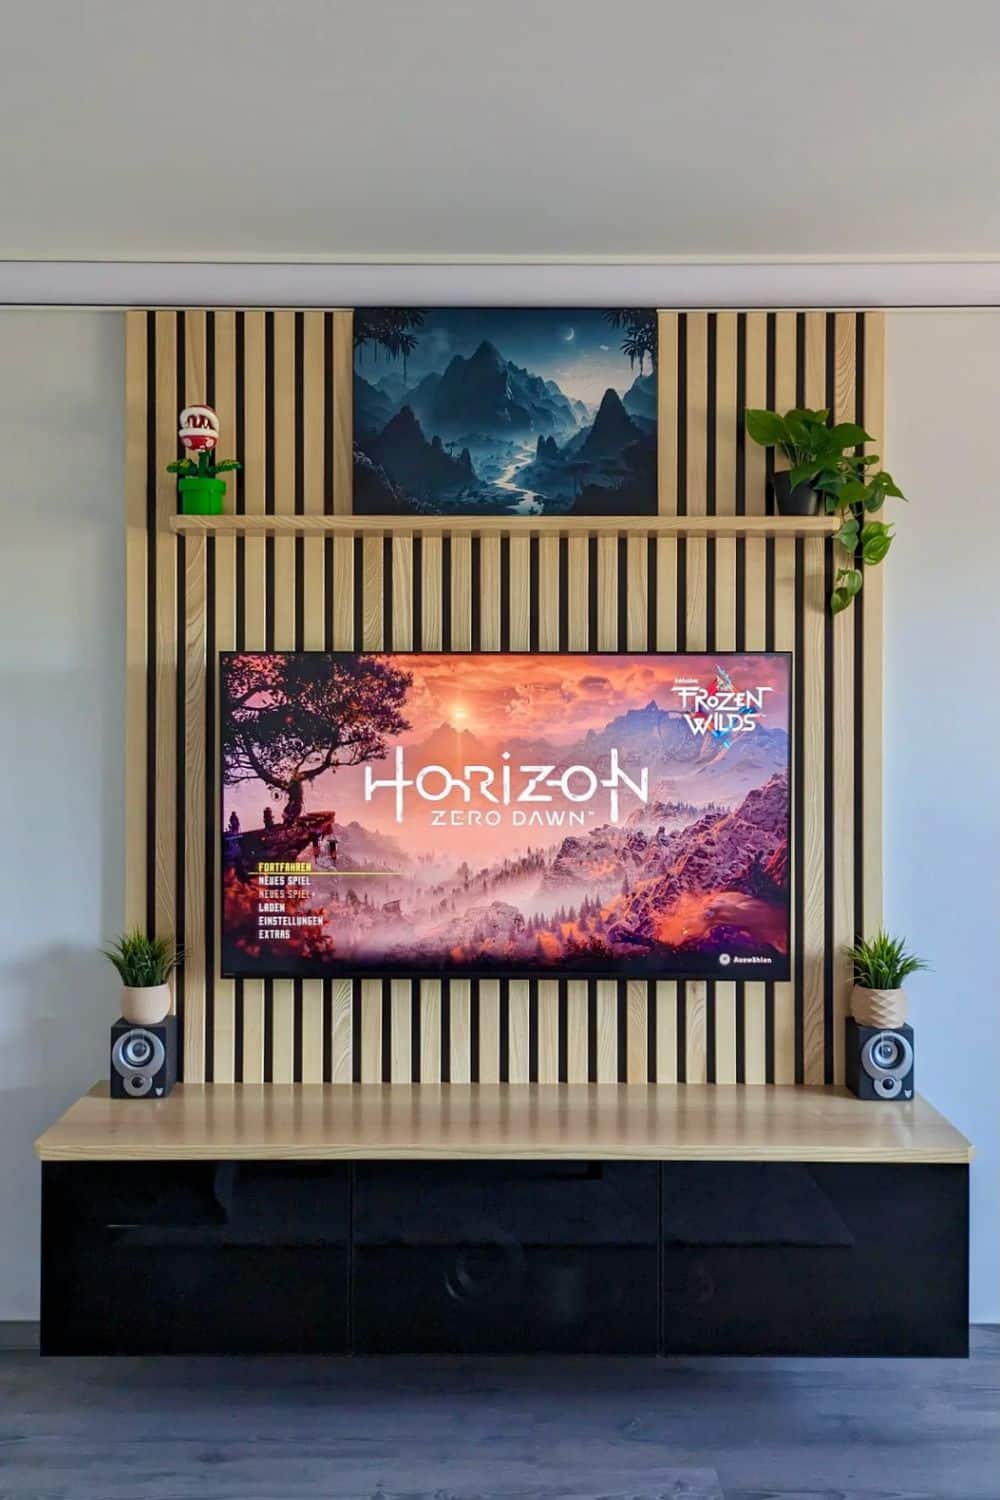
The result? A clever BESTÅ media wall hack that hides clutter, fits the space perfectly, and looks custom-built.
In iBeryl’s words, it’s a “clean look with smarter features, all based on a simple IKEA BESTÅ.”
Create a Sophisticated and Modern TV Accent Wall
What You’ll Need
- 1 IKEA BESTÅ TV unit (70 ⅞” x 15 ¾” x 15″)
- 3 GLASSVIK doors (black/smoked glass)
- 2 Noctua fans (or similar)
- Triangle-shaped vent plugs (the hacker designed and 3-D printed them)
- Anti-dust mesh
- Variable covers (however many you need, depending on where you need cable management)
- Black MDF board
- Light ash strips
- Light ash wood for the shelf and countertop
- 2 metal strips
- Magnets
- TV mount
- Clear lacquer
- Router
- Basics — tape measure, screw gun, drill, pencil, saw, etc.
1. Assemble the Cabinet and Create Vents
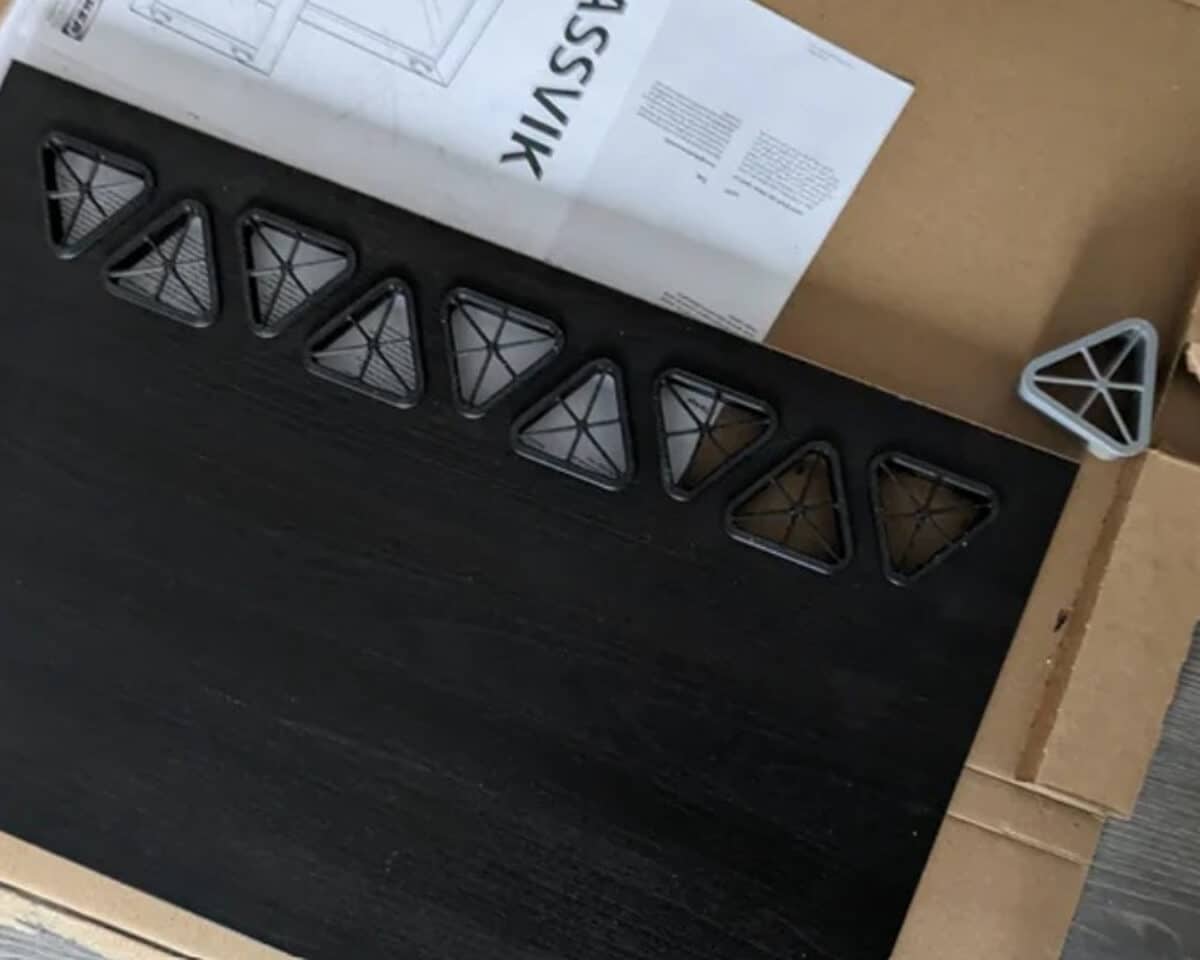
Put together the BESTÅ unit according to IKEA’s instructions. Use a router to make the cutouts in the bottom and in the shelves to improve airflow. The hacker designed and 3-D printed vented plugs, along with anti-dust mesh to fill these cutouts.
2. Add Fans
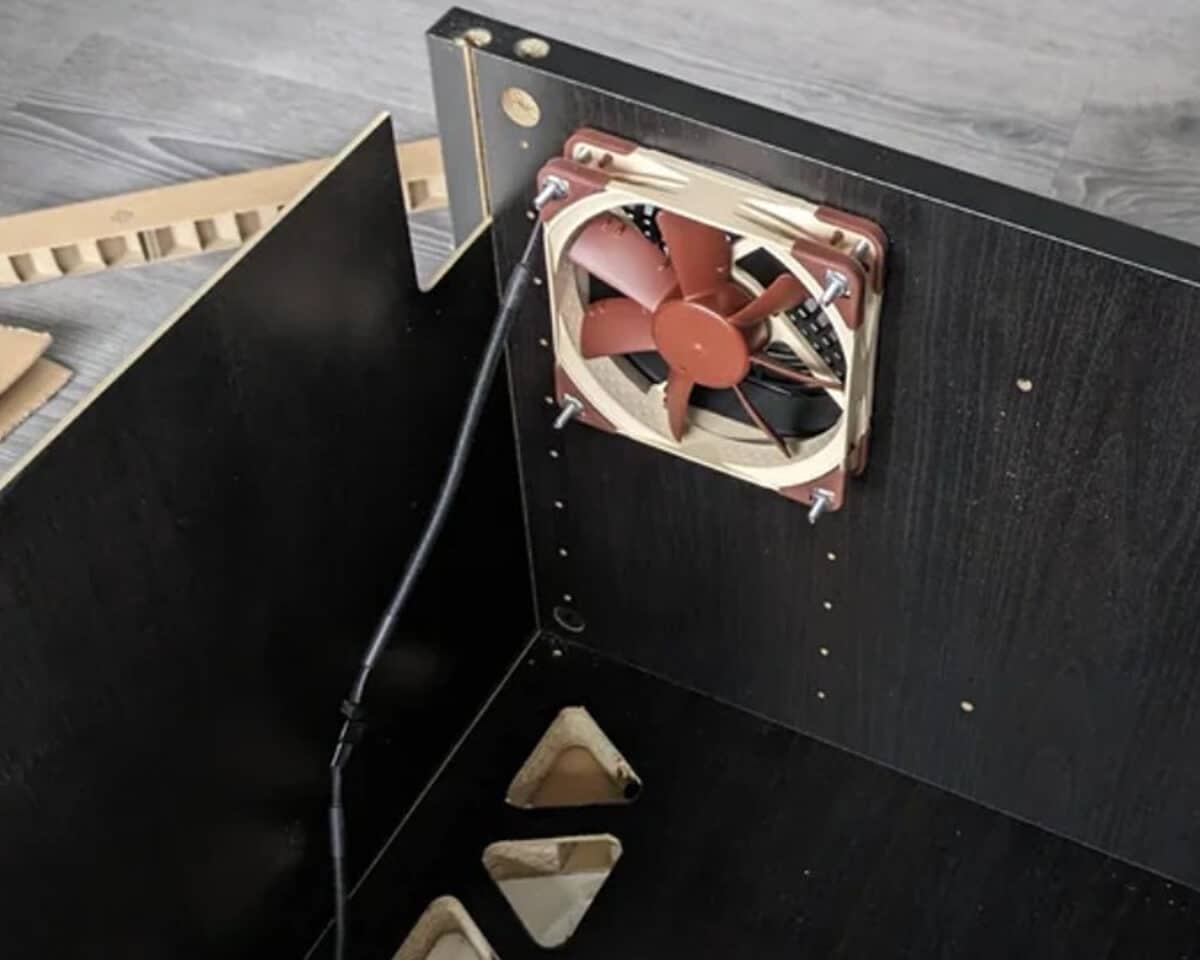
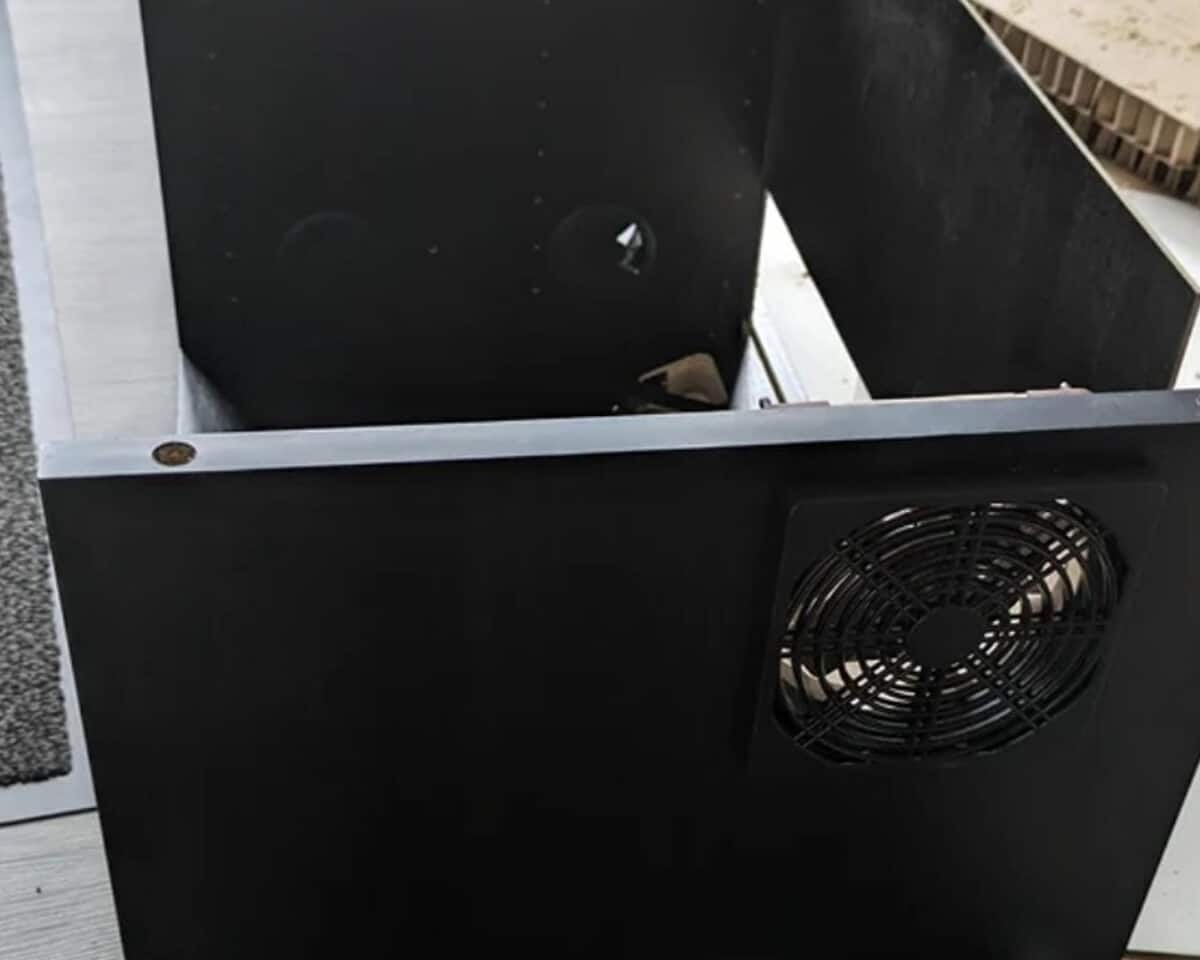
One of the biggest issues was overheating components, so small fans on either side of the unit help pull air through when things get hot. Cut holes in each side to install the fans and use vented covers on the outside to give the piece a finished look.
3. Consider Cable Management
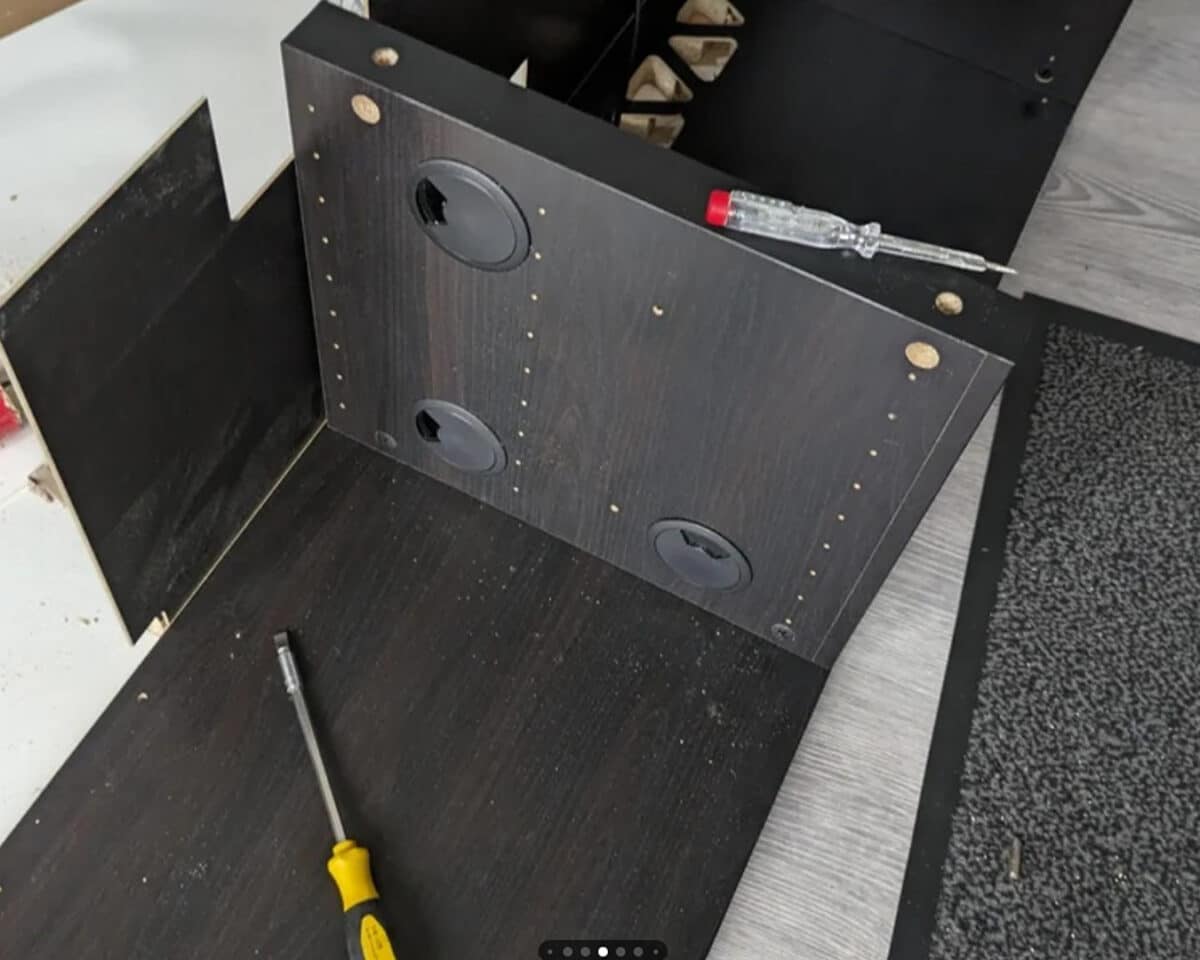
Make holes on the inside of the cabinet to allow cords to pass through easily and out of sight. Variable covers allow plugs to fit through while hiding the hollow insides of the cabinet, providing a more polished look. Cut the location of the outlet out of the back wall of the unit to plug in everything easily inside the console.
4. Hang the BESTÅ and TV Mount
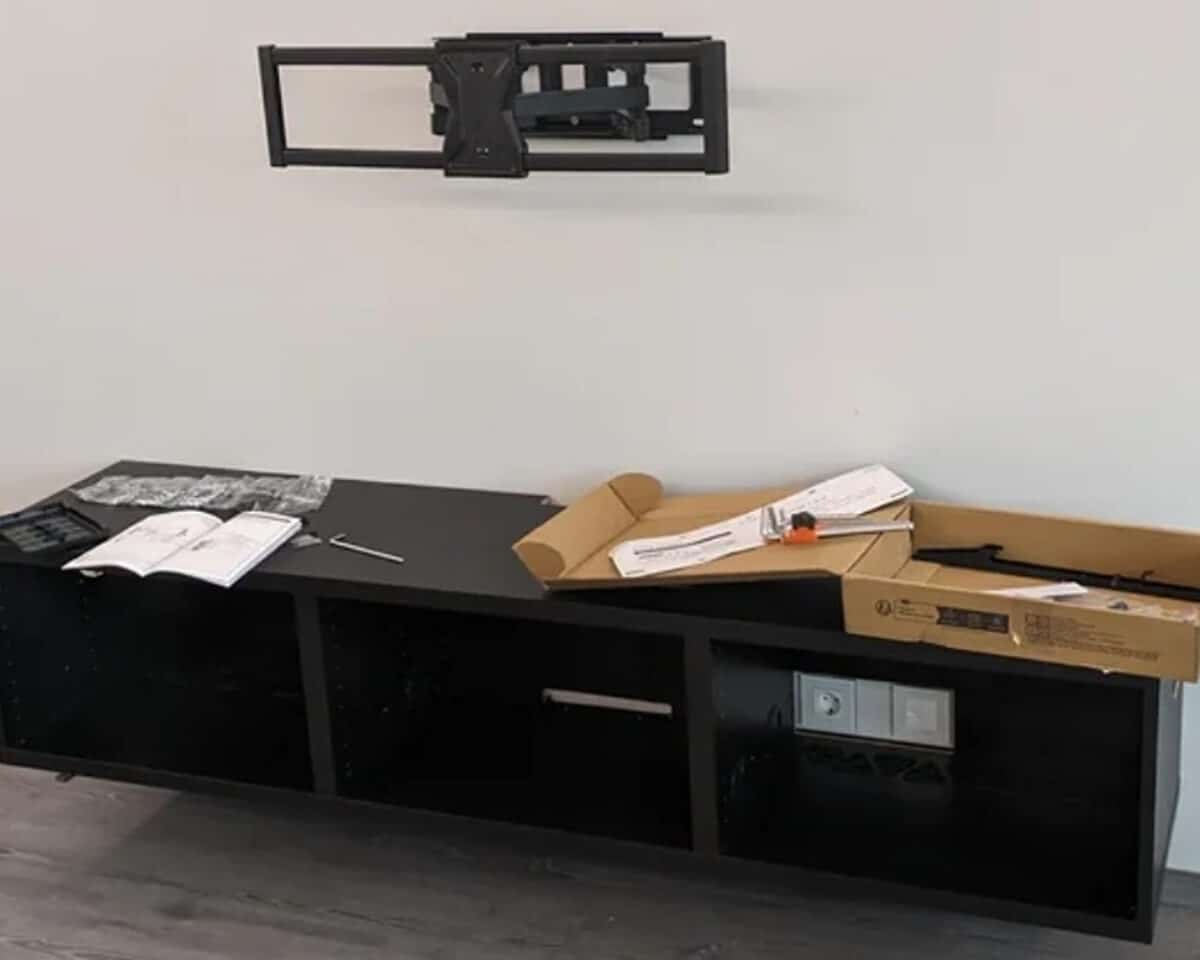
Mount the cabinet onto the wall following IKEA’s instructions. Add appropriate anchors and hardware for your wall. Install your TV mount and take measurements for your MDF panels so they’ll fit appropriately around your TV.
5. Make the Slatted Wood Accent Wall Panel
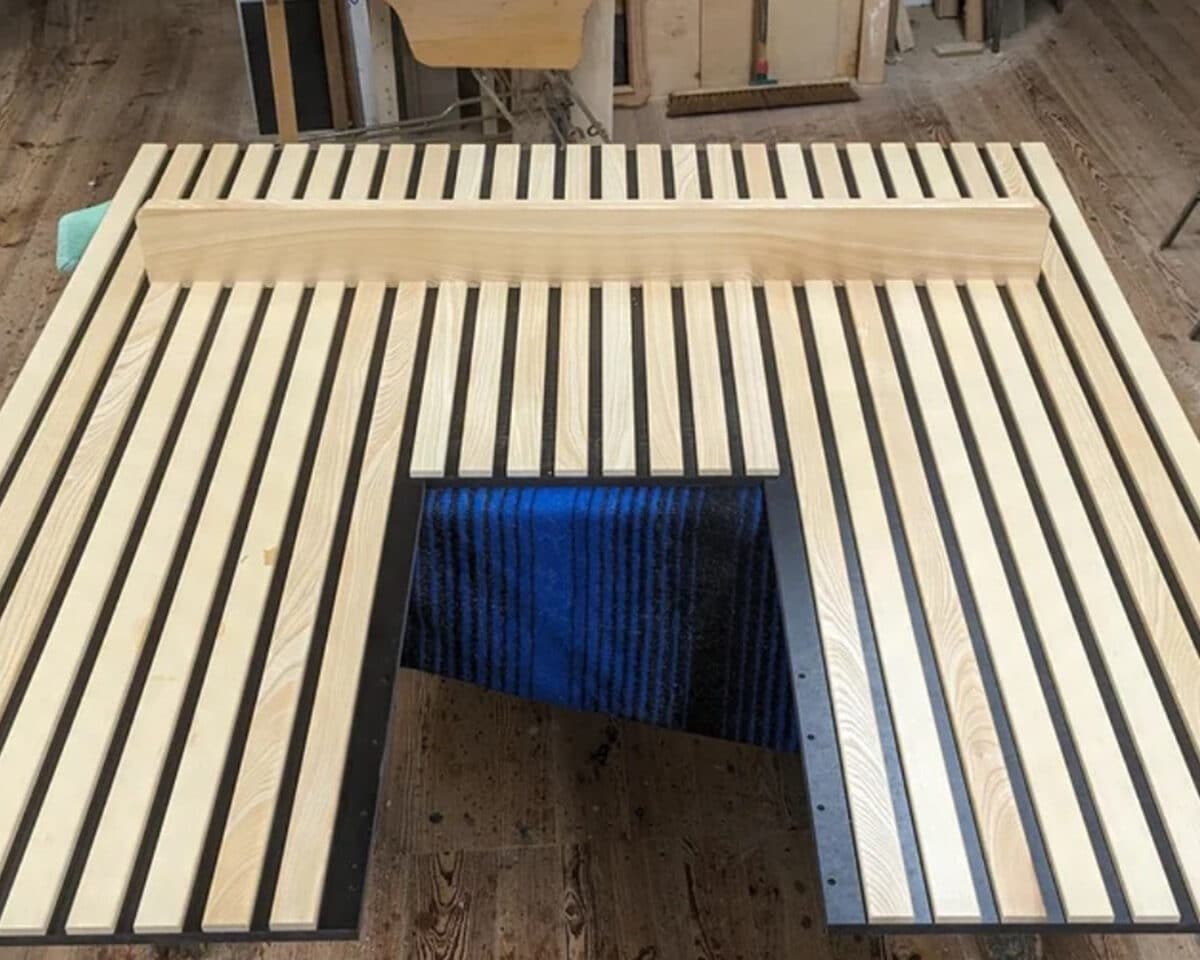
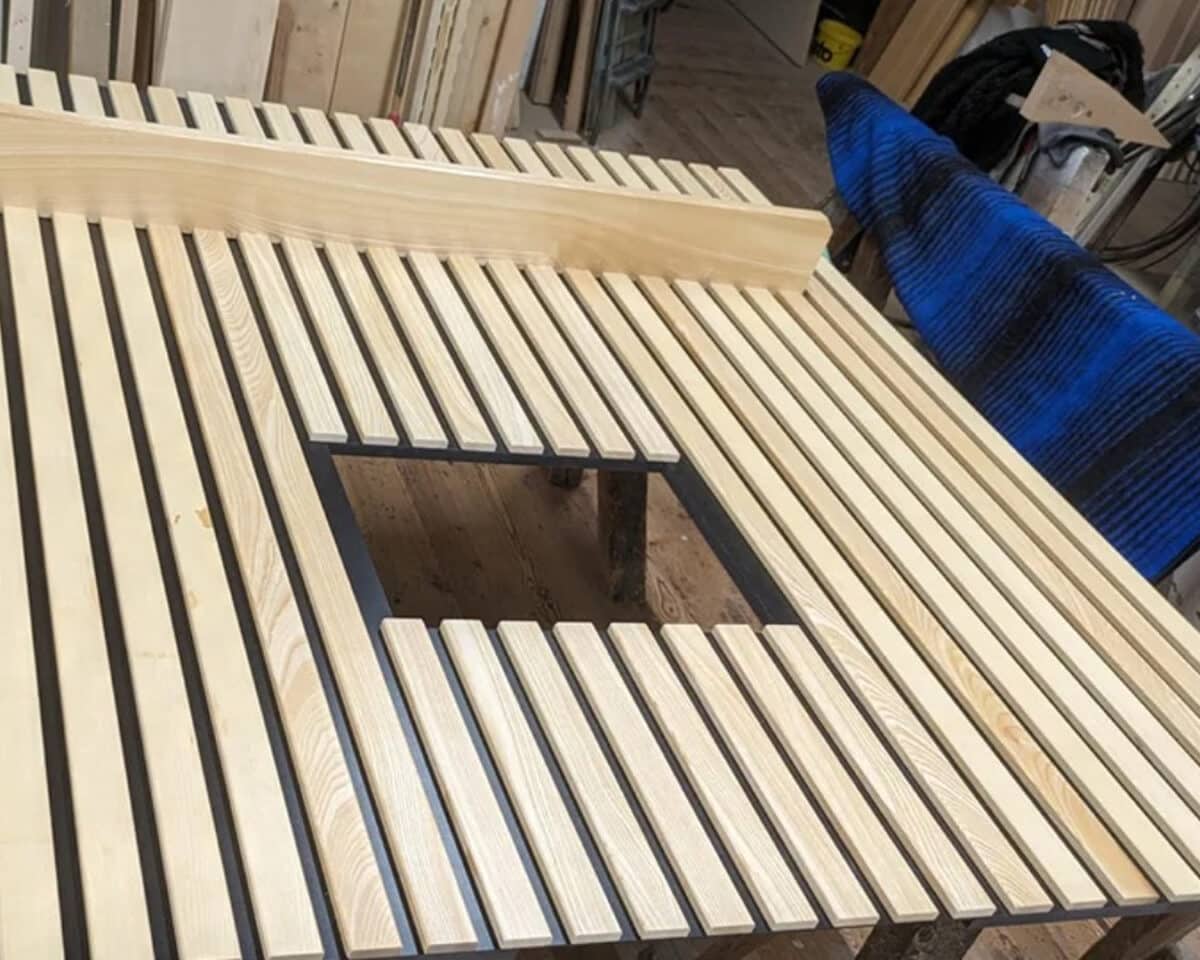
Cut the MDF board (paint it black if you didn’t buy it that way) to the necessary sizes. Then cut and screw the light-ash strips into place from behind, paying attention to spacing. The addition of the ash shelf adds another layer of style, plus it provides extra rigidity to the panel.
6. Install the Counter, Slat Wall Panel, and Doors
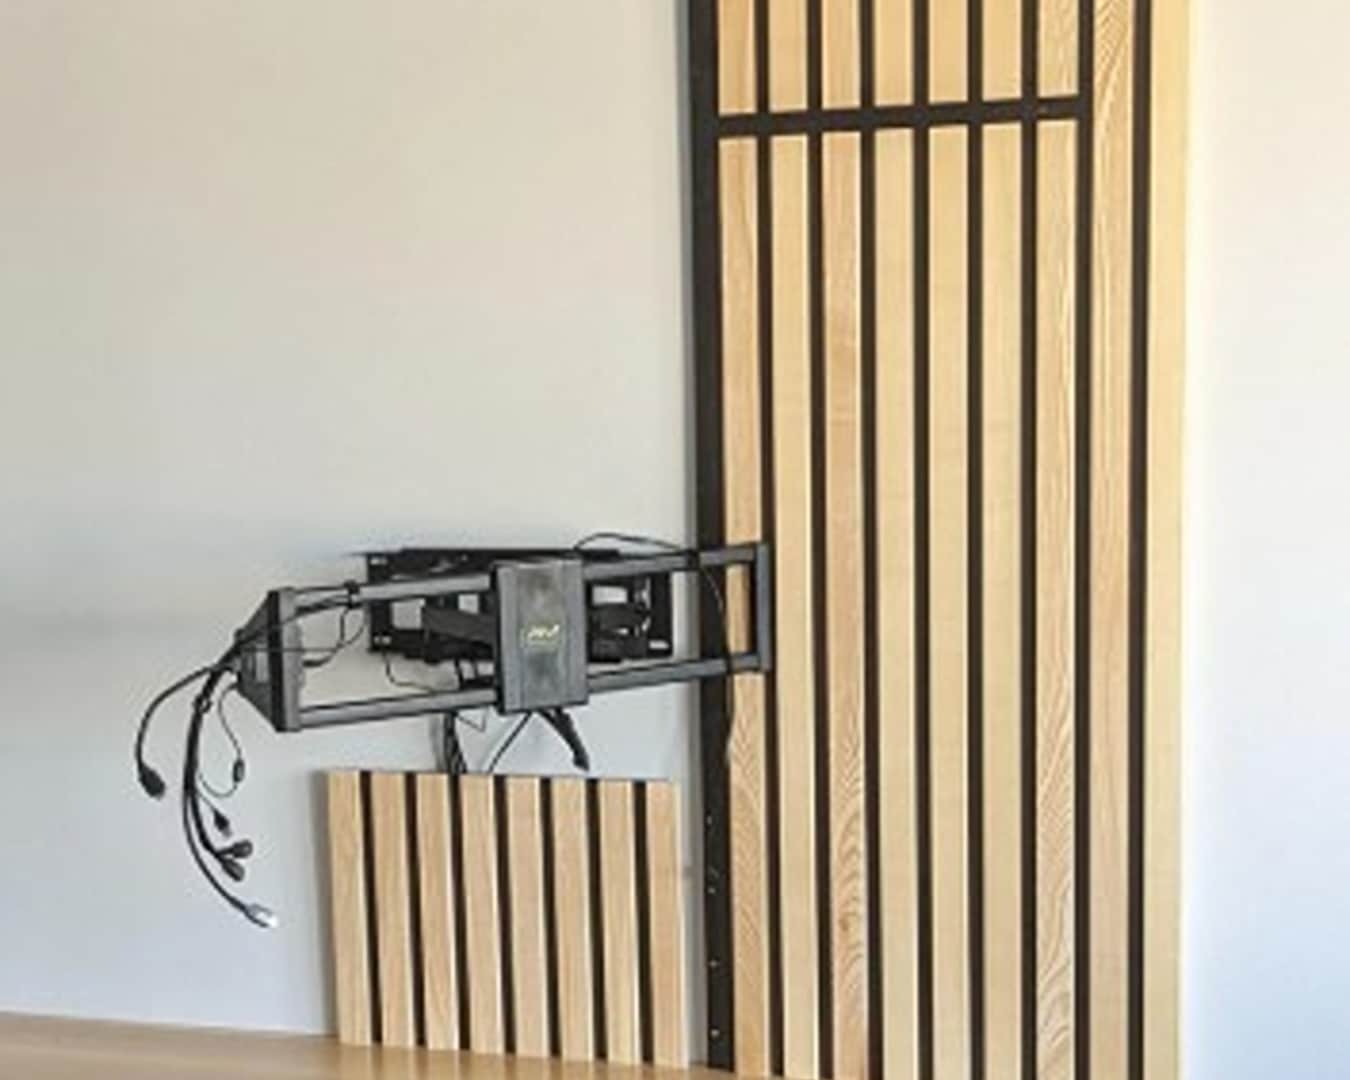
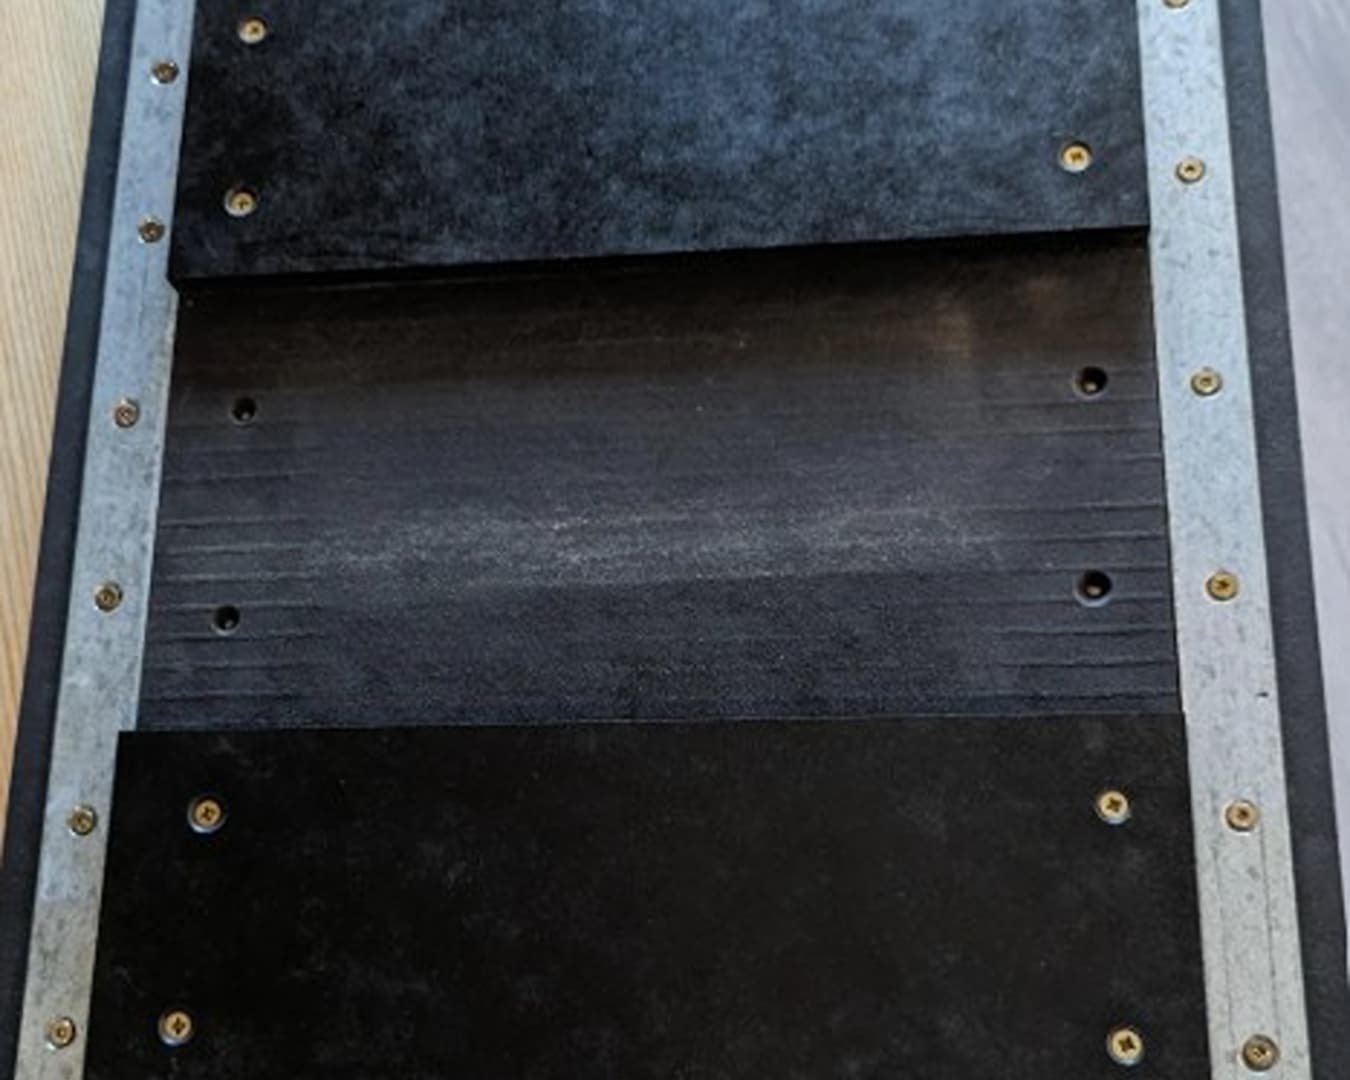
Cut the countertop to size, and install it on top of the cabinet. Add the GLASSVIK doors, then mount the panel onto the wall, saving the cable cover piece for last. Add the metal strips to the back of the cable panel and magnets to the wall to hold the panel in place and keep it stable.
IKEA BESTÅ TV Accent Wall: Cost, Concerns, and Craftsmanship
This hack cost about $500, including the TV mount (not the TV, of course). A few curious commenters were concerned about the vertical strips, wondering if they were a pain to dust or if they made it difficult to watch TV.
One person said a similar setup at their work made people so dizzy that they had to take their time. However, the hacker’s wider layout seems to be easier on the eyes and hasn’t caused any issues.
They also used a lacquer on all of the ash wood, giving it a polished look and making it super easy to wipe clean since it creates a smooth finish.
Overall, there’s no denying that this hack took skill and certainly shows off the creator’s amazing talents. It’s a beautiful piece of craftsmanship that considers form and function, making it a successful DIY that’s ready for movie night.
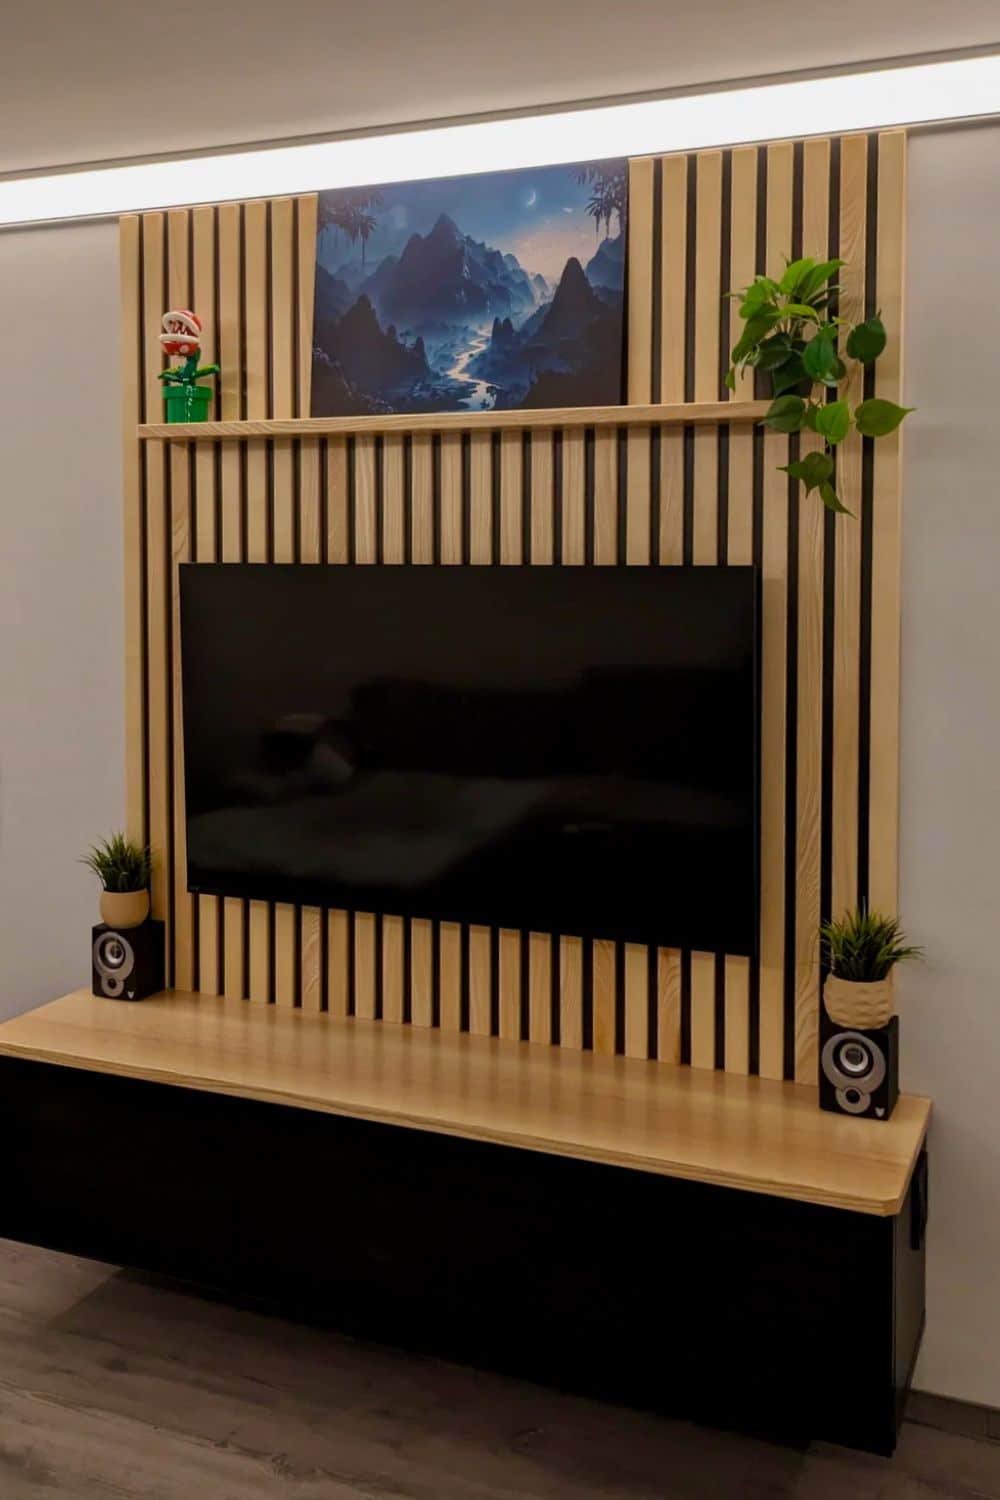
Check out the hack for more info and a closer look at how to bring this DIY to life. The hacker also provides extra insight into their speaker and sound situation, and a few of their plans to make future improvements.
What do you think? Could you pull off this hack in your home? Would you change anything?
Got an IKEA hack of your own? We want to see it! Submit your project here or tag us on Instagram @ikeahackersofficial.
Want more inspiring IKEA hacks? Sign up for our free weekly newsletter for the latest hacks, ideas, IKEA updates, and more!

