I have plenty of fun childhood memories of jumping into ball pits and trying to swim through piles of plastic balls. I mean, as a kid, you haven’t fully lived until you’ve participated in an epic ball toss fight, right?
Now, I watch my son giggle with glee as he does the same things that kids were doing generations ago. Undeniably, a ball pit carries a certain nostalgic charm and enduring fun.
What kid wouldn’t want to have their very own private ball-topia in their bedroom or playroom?
Well, Marlena Schubert @schuberts_haustagebuch agreed, and she created a fun, indoor ball pit with a slide for her kids.
Marlena said she was inspired by @mamiblock, who designed a whole playspace, complete with a ball pit, for her kids’ room. (You can see that project in this YouTube video.)
Marlena also packed her ball pit with plenty of storage using IKEA KALLAX shelves.
What You’ll Need
- 1 IKEA KALLAX 2 x 2 shelf unit with doors (door optional)
- 1 IKEA KALLAX 1 x 3 shelf unit
- 1 IKEA KALLAX 1 x 2 shelf unit
- 1 IKEA KALLA 1 x 1 shelf unit
- Slide (optional)
- MDF board
- Foam padding
- Fabric of choice
- Screws, hinges
- Basics — Screwgun, drill, tape measure, scissors, saw
- Approx. 4000 ball pit balls
- Padding or foam for the wall
Building a Ball Pit With KALLAX
1. Assemble KALLAX Shelves
Put together all of the KALLAX shelf units according to IKEA instructions. Include any doors, drawers, or inserts you choose to use with the shelves.
2. Create the KALLAX Border and Place Slide
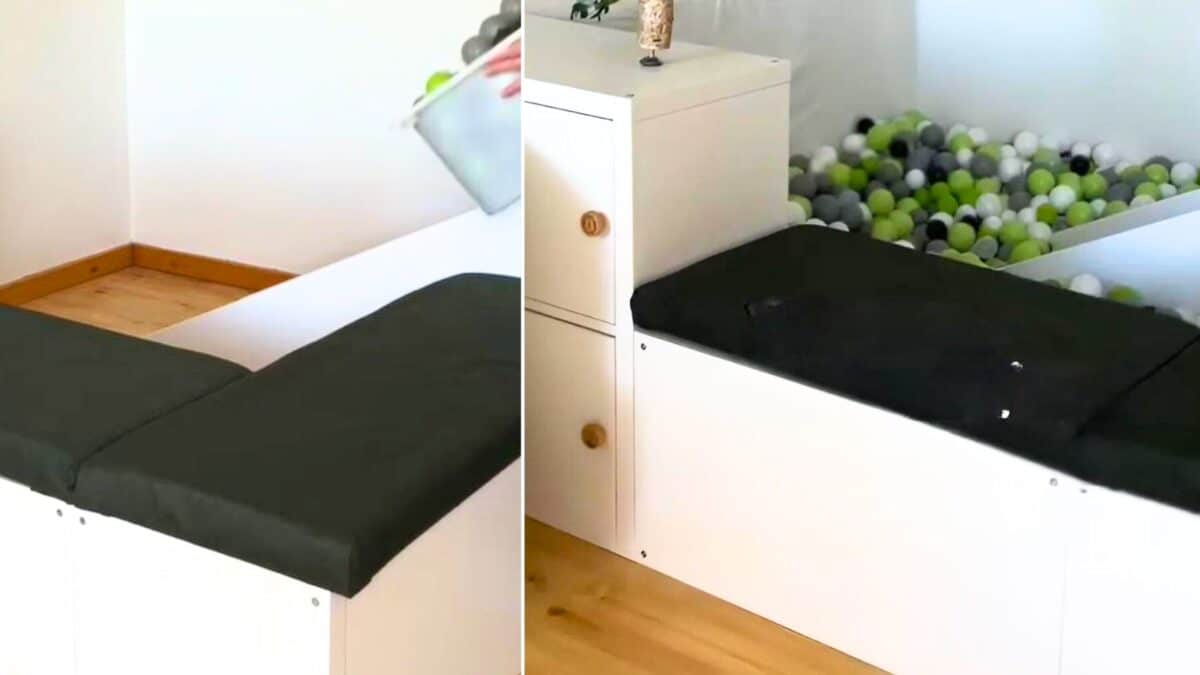
Place the KALLAX shelves in an approximate L-shape in the corner where you want your ball pit. Marlena turns the 1 x 3 and 1 x 2 pieces with the cubbies facing upward to create the hidden bench storage sections.
Place the slide in position so you can make sure everything fits together nicely. (Marlena’s slide is from Pinolino, but she found it on eBay classifieds. You can also browse Amazon for other options to fit the size of your room and your child’s age.) Screw everything together tightly, and secure the end pieces to the walls.
3. Make the Seats
Cut the MDF to size to fit on top of the KALLAX pieces you’re using as your benches (the ones you placed with cubbies facing up). Cut foam to match and place on top of the boards, wrap the fabric around, and staple in place. Use hinges and screws to attach the padded seats to the top of the KALLAX units.
4. Add Wall Padding
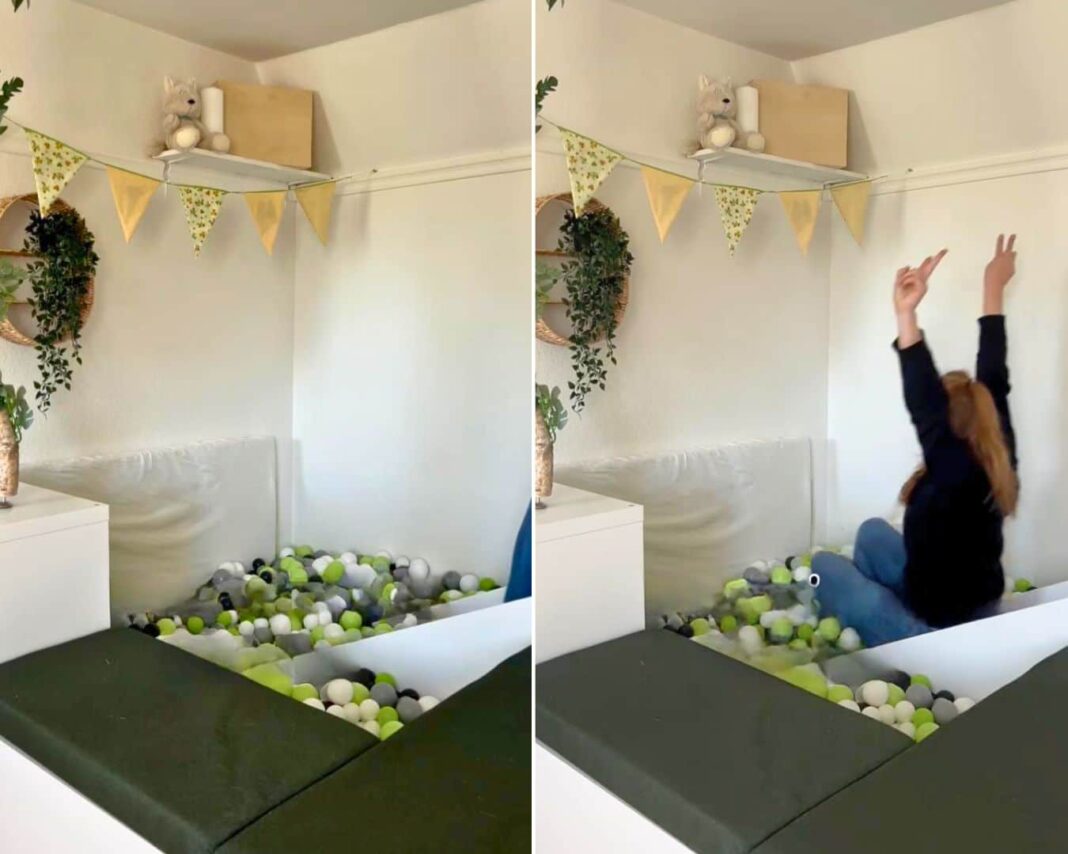
Use extra foam padding covered in fabric, a mattress topper, or something similar to provide padding against the wall. Marlena put a pad on the wall opposite the slide, but you may want to put something on both exposed walls to soften bumps and thumps as kids play.
5. Bring on the Balls!

Finally, pour in roughly 4,000 balls to fill the ball pit. (Don’t go all the way to the top, but pretty close.) Add any cute decorations you want to put your personal stamp on things.
You May Want to Add a Few Tweaks to Your Ball Pit
Marlena suggests that you might need to make a few adjustments based on your room’s setup. Depending on the space you’re working with, you may opt for different KALLAX shelf sizes or configurations.

You also don’t need a slide, but it sure does add to the fun. However, keep in mind the slide you choose may change which KALLAX shelves you need to get.
There are also a few safety points to consider. Several commenters mentioned adding a few extra features, like a rug or mattress below the balls, so it wouldn’t be such a hard surface.
Others suggested corner protectors. Marlena responded that “so far,” no one’s gotten hurt, so here’s hoping it stays that way!
What do you think? Does this hack motivate you to create the ultimate playspace?
Okay, so maybe you don’t need a ball pit in your home, but that’s not a problem. IKEA’s KALLAX shelves are the star player in tons of creative hacks. It’s all about finding one that makes sense for you.
But this DIY ball pit is super cute and fun, and it’s certainly going to win you mega brownie points with the kids. Watch the hack and follow Marlena Schubert @schuberts_haustagebuch on Instagram for more interior design ideas, DIY dreams, and clever hacks.
Is this the best thing for your kids’ playroom, or do you have your own solution to share? We’d love to feature it!

